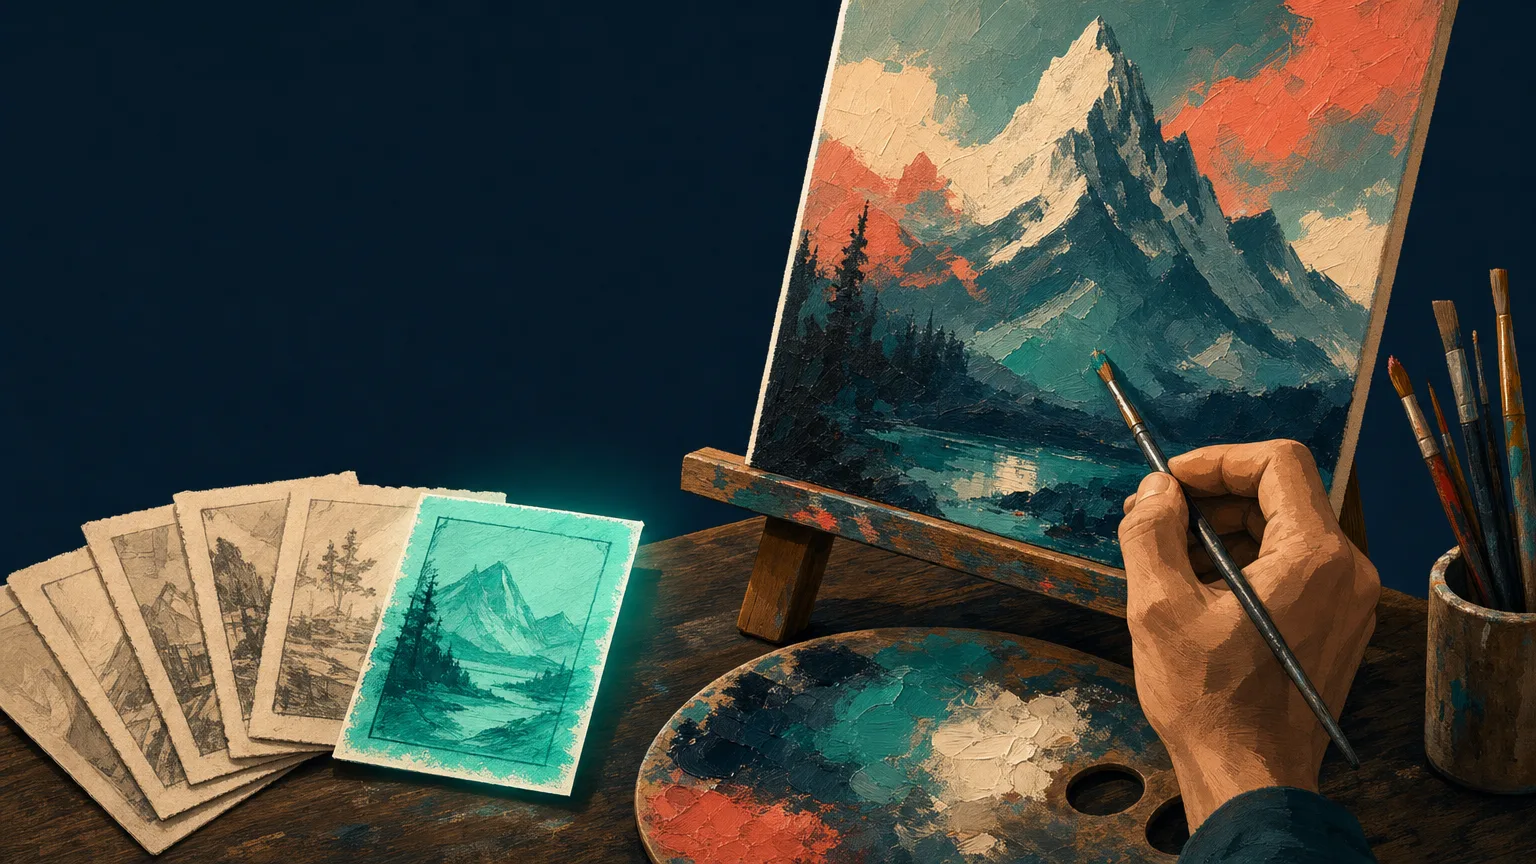
The idea in one paragraph: you don’t have to choose between traditional art and AI, and you don’t have to let AI make your art. Many painters and illustrators use AI the way they already use photo reference, a camera or Photoshop: to explore ideas faster, then make the finished piece by hand. This guide covers the most practical uses, from the studio to the sales page, which tools fit different values, and what copyright law says about the result. If you’d rather keep AI away from your work entirely, see our guide to protecting your art from AI.
Where AI Fits in a Traditional Workflow
| Stage | How AI can help | What stays yours |
|---|---|---|
| Idea | Quick thumbnails and variations | Choosing and developing the idea |
| Reference | Poses, lighting setups, props you can’t photograph | Drawing, painting, interpretation |
| Color | Trying palettes on your sketch | Mixing and applying color |
| Finished work | Animating a scan of your painting for social media | The painting itself |
| Photos and prints | Cleaning up photos and scans of your work | The original |
| Clients | Commission previews and placement mockups | The final piece |
| Selling | Mockups, listings, catalogs and translations | Your art and your prices |
1. Thumbnails and Composition Studies
Before committing to a canvas, generate a dozen rough compositions of the same idea: different crops, horizons, and placements of the focal point. Treat them like a fast sketchbook. Pick what works, then redraw it yourself.
Tip: use your own sketch as the starting image (image-to-image) rather than a text prompt. The results stay closer to your idea, and you practice directing rather than accepting whatever appears.
2. Reference You Can’t Photograph
AI can produce reference for things that are hard to set up: a figure in period costume under candlelight, a dragon’s wing folded against rain, a street at dawn in a city you’ve never visited. Describe the lighting carefully, since light is usually what you need reference for most.
Reference photo: a woman in her sixties seated by a window, three-quarter view facing left, soft overcast light from the right, deep red wool shawl with visible folds, plain dark background, natural skin texture.Watch for AI mistakes in hands, fabric logic, reflections and perspective. Use AI reference alongside real observation, not instead of it. Our guide to using Claude as a studio assistant has more reference-prompt ideas.
3. Color Studies
Photograph or scan your drawing and ask an AI image tool to try several palettes on it: warm dusk, cool moonlight, a limited three-color palette. It’s the digital version of doing small color studies before the big painting. You still mix and apply every color yourself.
4. Animate Your Finished Work
This is one of the most popular uses: scan a finished painting, then use an image-to-video model to make a short, gentle motion clip for Instagram or TikTok. Clouds drift, water ripples, hair moves in the wind, while the painting stays recognizably yours.
- Prompt only the motion, not the style. The image already carries the look. “Slow push-in. Clouds drift left, the water surface ripples gently, the lantern flickers. The painting style stays unchanged.”
- Keep motion subtle. Big camera moves make the model invent parts of the scene you didn’t paint.
- Use start and end frames for a loop: give the same image as both.
Our tool guides show how: Kling 3.0, Veo 3, Seedance, and Wan 2.2 if you want to run it privately on your own computer.
5. Better Photos of Your Artwork
Most artists sell from photos, and a bad photo undersells a good painting. AI editing tools can:
- remove glare from varnish or glass,
- straighten a keystoned shot taken at a slight angle,
- clean up the background so the work sits on a neutral surface,
- correct the color so the photo matches the painting in daylight.
Always compare the edited photo with the real piece side by side. Buyers should get what the photo shows.
6. Scans for Giclée Prints
AI can clean dust, lint and scan artifacts from a high-resolution scan, and upscale it for larger print sizes.
A caution: upscalers work by predicting detail, and they can invent brush texture, soften edges or change fine lines that were never in your painting. Upscale conservatively, zoom in to 100% before sending files to the printer, and check a test print against the original.
7. Mockups for Prints, Products and Shows
- Prints and products: show buyers how a piece looks framed in a living room, as a poster or on a tote bag, without a photo shoot. Label mockups clearly, and use photos of the real piece for condition and detail.
- Show and hanging plans: photograph the gallery wall and mock up the layout to decide groupings, spacing and sight lines before hanging day.
8. Commission Previews and Placement Mockups
- Commission previews: show a client two or three rough directions (composition, palette, crop) before you start. Tell them clearly these are layout sketches, not the final style. The final piece is made by you.
- Tattoo, mural and interior clients: place your design on a photo of the arm, wall or room so the client can approve size and placement before any ink or paint goes down.
9. The Business Side
Text AI tools such as Claude and ChatGPT are useful for the writing that eats studio time. Always check facts and rewrite in your own voice.
- Statements and applications: artist statements, grant applications and newsletters.
- Listings: draft titles and descriptions from a photo and your notes, then edit.
- Cataloging your work: build an inventory with title, date, medium, dimensions, price and where each piece is, started from photos. Over time it becomes an archive of everything you’ve made.
- Alt text for your website: short, accurate descriptions of each artwork for visitors using screen readers. They also help search engines understand your images.
- Translations: listings and emails for international buyers and galleries. Have a native speaker check anything important.
- Process videos: AI editors can add captions and trim hours of studio footage into a time-lapse. The footage is real; AI only helps edit it. Never generate a fake “process” video of work you didn’t make that way. If people find out, it undermines trust in everything you post.
Before You Upload: Read the Terms
Before you upload unreleased sketches or client work to any AI tool, check what its terms let the company do with your uploads. Policies vary widely. For example, Higgsfield’s terms give the company a perpetual, worldwide license to use uploads and outputs to improve its models, except for enterprise customers. Look for the words “license,” “train” and “improve our services,” and for an opt-out setting. If in doubt, use a tool that runs on your own computer.
Uses to Approach With Care
- A private model trained on your own work. Some artists train a small model (a LoRA) only on their own paintings to explore variations. It avoids using anyone else’s work, but the outputs aren’t copyrightable on their own, and leaning on it can wear away what makes your hand-made work distinctive. Treat it as a sketchbook, not a production line.
- Paint-mixing advice from a photo. AI can suggest which pigments to mix to match a color in a photo, but the suggestions are often wrong: screens and photos don’t show pigment behavior. Use them as a starting point and test on paper.
Choosing Tools That Fit Your Values
Artists feel strongly about how AI models were trained. A few options, based on what each company says about itself:
- Adobe Firefly: Adobe says its own Firefly models are “trained on licensed content from Adobe Stock and public domain content where copyright has expired,” and that it doesn’t train on Creative Cloud subscribers’ personal content. Outputs carry Content Credentials that record AI was used. Note that the Firefly app also offers partner models from companies such as Google and OpenAI; Adobe’s training statement covers its own models, so pick an Adobe Firefly model if that matters to you.
- Procreate: the drawing app has publicly committed to not building generative AI into its product, a stance it explains on its website. It’s a good choice if you want your drawing app to stay AI-free.
- Local, open models (such as Stable Diffusion and Wan): run on your own machine, so your sketches never leave your computer. The trade-off is setup time and a capable graphics card.
Who Owns the Result?
In the US, the Copyright Office’s January 2025 report is the clearest guide:
- Your hand-made work is fully protected, even if you used AI reference or AI thumbnails along the way. The Office says using AI “to assist in the process of creation” doesn’t bar copyright.
- If your own drawing or painting is visible in an AI output, as when you animate a scan of your painting, your original work stays protected in it.
- Creative changes and arrangements you make to AI output can be protected.
- Prompts alone aren’t enough. An image generated from a text prompt alone isn’t copyrightable.
So a painting you made by hand from AI thumbnails is yours. A raw AI image you only prompted isn’t protected, even if it looks like your style.
This is general information, not legal advice. Rules differ outside the US.
Being Open About Your Process
Buyers, galleries and competitions increasingly ask how work was made. Good habits:
- Check the rules for any competition, open call or marketplace before entering AI-assisted work.
- Describe your process honestly, for example “oil on linen; AI-generated thumbnails used for composition.”
- Keep process files: sketches, photos of stages, the AI references you used. They show what’s yours.
Next Steps
- Protect what you post: How to Protect Your Art From AI
- Use Claude as a studio assistant: Claude for Traditional Artists
- Learn prompting basics in How to Write AI Art Prompts